| Here is a
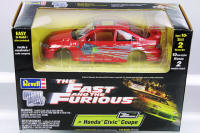
1:25 scale of the Ertl Civic Si Coupes - in various brands of
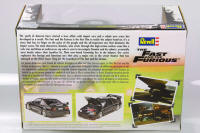
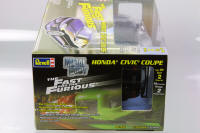
packaging. Revell's Fast & Furious with Roman figure
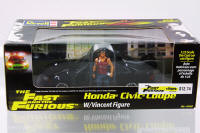
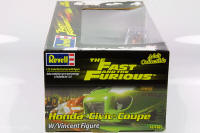

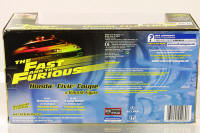
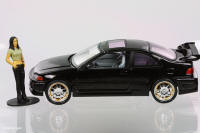
Revell's Fast & Furious with Letty figure
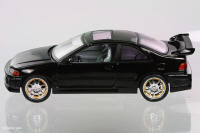
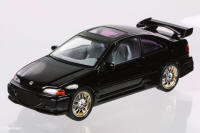
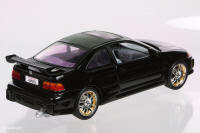
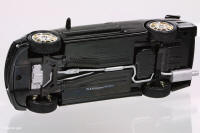
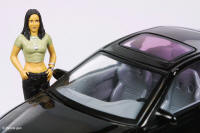
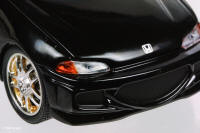
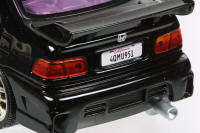

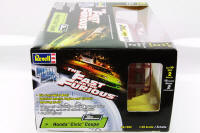
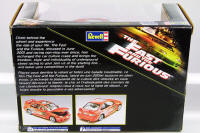
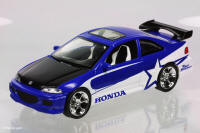
Another Revell Civic in blue in Super Street packaging.
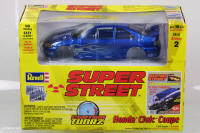
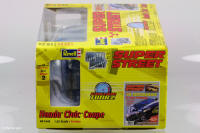
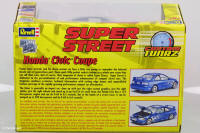
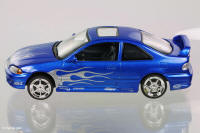
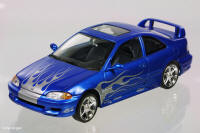
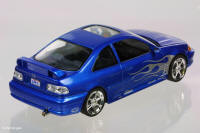
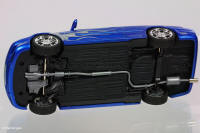
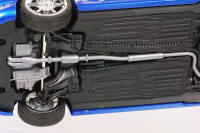

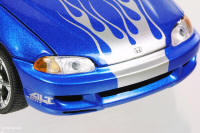
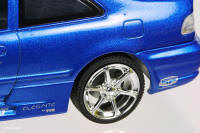
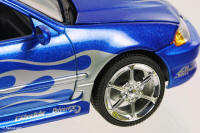
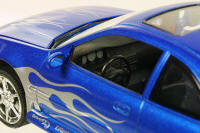

A couple of kit versions in black
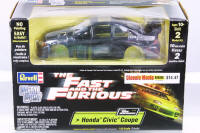

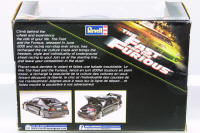
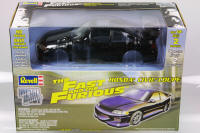
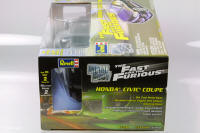
Racing Champion's Fast & Furios metallic yellow Civic with Monica figure.
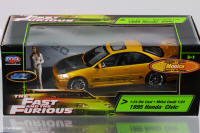
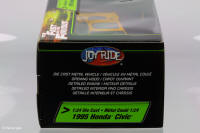
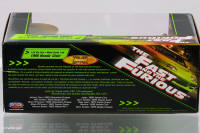
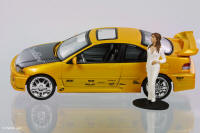

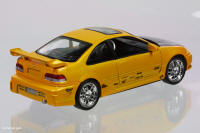
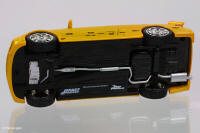
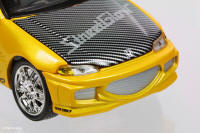
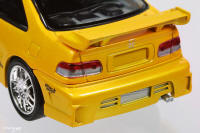
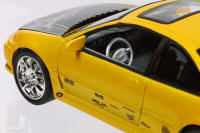
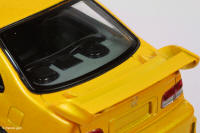
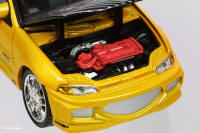
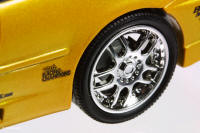
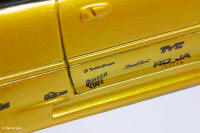
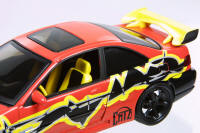
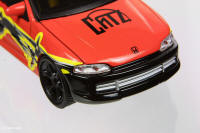
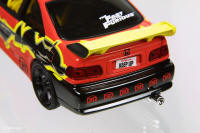
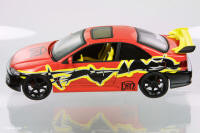
The CATZ liveried Civic in different trim. Testors has a few Honda models in its 1:24 Super Tuners Silver Series of
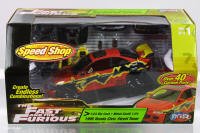
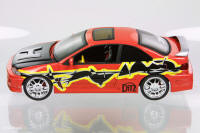
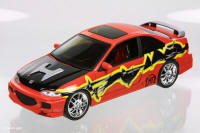
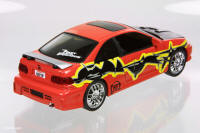
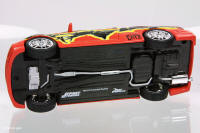
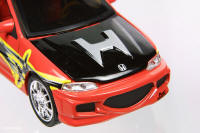
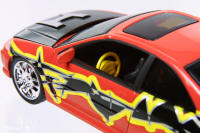
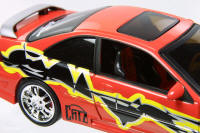
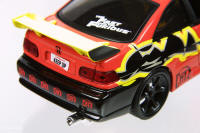
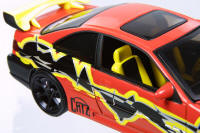
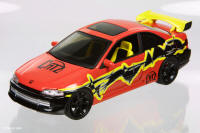
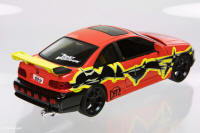
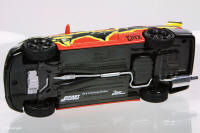
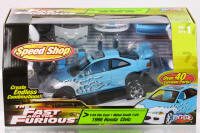
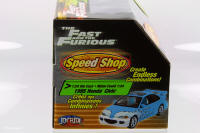
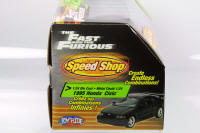
metal body kits. The model reviewed here is the black Honda Civic Si Coupe
with yellow/red flames.
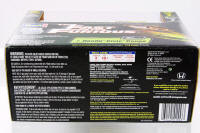
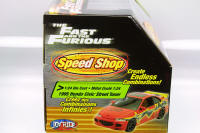
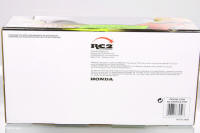
The box is a windowed box that displays just the painted and decorated metal
body with attached doors, hood and trunk. The box is red metal plate look.
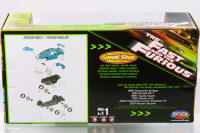
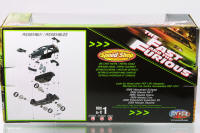
The kit has over 30 detailed parts. The parts come in various sealed recyclable
bags (great for reducing the inter-part scratching that may otherwise occur on
the chromed, painted or clear plastic parts). The smaller parts bags are then
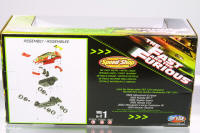
sealed in a larger plastic bag. The instructions (in english and french)
are illustrated in 16 steps. Assembly requires a phillips head screwdriver (not
included).
The casting has some interesting details including the antenna cover above
the left door's A-pillar. The paintwork is average with a few noticeable
blemishes - white primer visible (pinhead size) above the right door. The Yellow
and red flames have minor blemishes and "overspray".
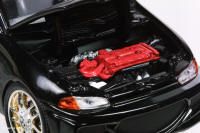
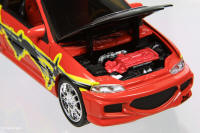
The parts had some good details - silver front strut tie bar, red valve cover
with silver spark plug cover and oil cap, silver air box and various other
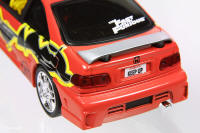
reservoir covers in silver. The clear rear and rear side windows have painted
borders.
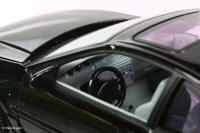
The interior has a gearshift knob that clear had a front and back - the slot
it goes into was shaped to ensure that it was assembled correctly. The handbrake
is set up to be in up position. It looks like the cockpit was designed for
both LHD and RHD even though this kit came with a dash for a LHD car. The front
seats are painted red (though one of them had a chip in the red paint) and snap
in place easily. The dashboard had 3 indentations molded for the gauges even
though the dashboard decal was one piece - if someone had the patience, they
could have cut out the three gauges individually before applying them to the
dashboard indentations.
Installing the front dash was a bit tricky as you had to hold the piece in
place through the doors while installing the passenger compartment (that needed
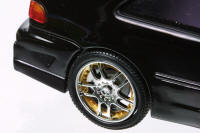
to slide between the rear window and the trunk hinges). The tires were
directional and don't always come assembled in the correct direction on the
wheels.
Assembly was pretty straightforward, as is typical with these types of metal
kits. Although it indicates glue is required, the part snapped in quite
snugly without the use of glue, except for the shift knob, handbrake and rear
corner lights. However, there was one error in the instructions - Step 1 shows
the grille upside down.

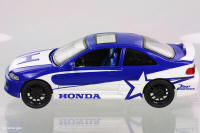
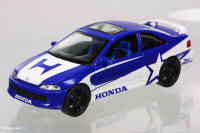
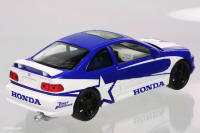
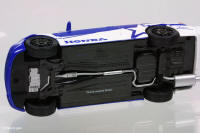

 |